

Let’s cut through the noise and get straight to what matters. If you’re like me, spending hours editing individual photos feels like watching paint dry while simultaneously stubbing your toe. The good news? Lightroom has your back with batch preset applications.

How to Apply Presets to Multiple Photos in Lightroom:
Import Method: The Fast Track
The import method offers the most efficient way to apply presets to multiple photos right from the start. During the import process, locate the “Apply During Import” panel on the left side of your screen. Click the arrow next to “Develop Settings” and select your desired preset. This method automatically applies your chosen preset to every photo entering Lightroom.
Key Benefits:
- Zero additional steps after import
- Perfect for consistent shooting conditions
- Ideal for large batches of photos
Library Module: The Quick Solution
The Library module provides a flexible approach for applying presets to already-imported photos. Here’s the streamlined process:
- Switch to Library mode
- Select multiple photos by holding Control/Command while clicking
- Find the Quick Develop panel in the top right corner
- Choose your preset from the dropdown menu
Pro Tip: If the preset only applies to one photo, look for “Sync Settings->Synchronize” in the lower left corner to apply it across all selected images.
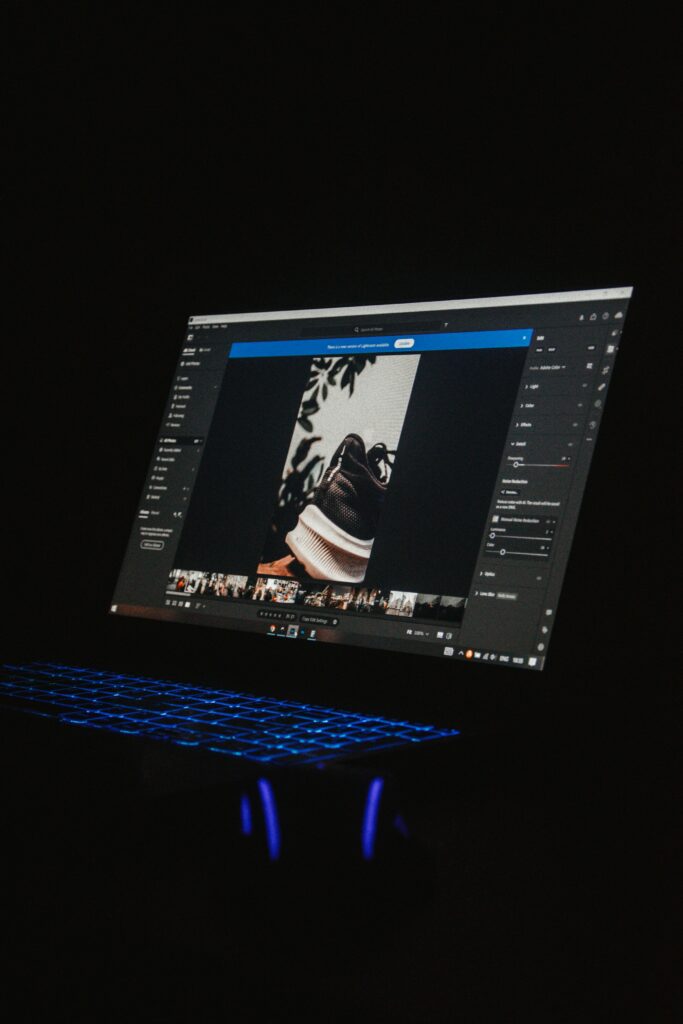
Develop Module: The Precision Approach
The Develop module offers the most control over your batch editing process:
- Apply the preset to your first photo
- Make any necessary adjustments
- Select additional photos in the filmstrip while holding Control/Command
- Click “Sync” in the lower left corner
- Choose which settings to synchronize
Advanced Feature: Toggling the switch next to the Sync button will enable Auto-Sync mode, allowing you to see your edits apply in real-time across all selected photos.
Best Practices for Batch Processing
To ensure optimal results when batch-applying presets:
Group photos with similar lighting conditions together
- Consider ISO values when applying noise reduction presets
- Use the Preset Amount slider to fine-tune the effect intensity
- Check “Show Partially Compatible Develop Presets” in preferences if presets aren’t visible
Remember that batch processing works best when your photos share similar characteristics, such as exposure settings and white balance. This approach can save up to 75% of your editing time while maintaining consistency across your photo collection.
Understanding Batch Preset Application
Batch editing with presets can save up to 75% of editing time. For a wedding photographer handling 500 photos, this could reduce editing time from 8 to just 2 hours.
Smart Selection Strategies
Group Similar Photos
Photos should be grouped based on shared characteristics for optimal preset application:
Matching exposure values
- Similar lighting conditions
- Consistent white balance settings
Lighting Considerations
- Separate indoor and outdoor shots
- Group photos by time of day
- Keep similar colour temperatures together
Troubleshooting Common Issues
Preset Application Failures
If presets aren’t applying correctly:
- Ensure you’re in Grid view
- Verify all photos are properly selected
- Check that Auto-Sync is enabled if using that method
Performance Optimization
To improve batch processing speed:
- Build standard-sized previews
- Work with smaller batches (25-50 photos)
- Allow processing to complete before making additional adjustments
The Bottom Line
Batch-applying presets isn’t just about saving time – it’s about maintaining consistency across your photo collections while preserving your sanity. Master these techniques, and you’ll spend less time behind the computer and more time behind the camera.
Remember: The best editing workflow is the one that gets you back to what matters – taking more photos and creating more memories.


