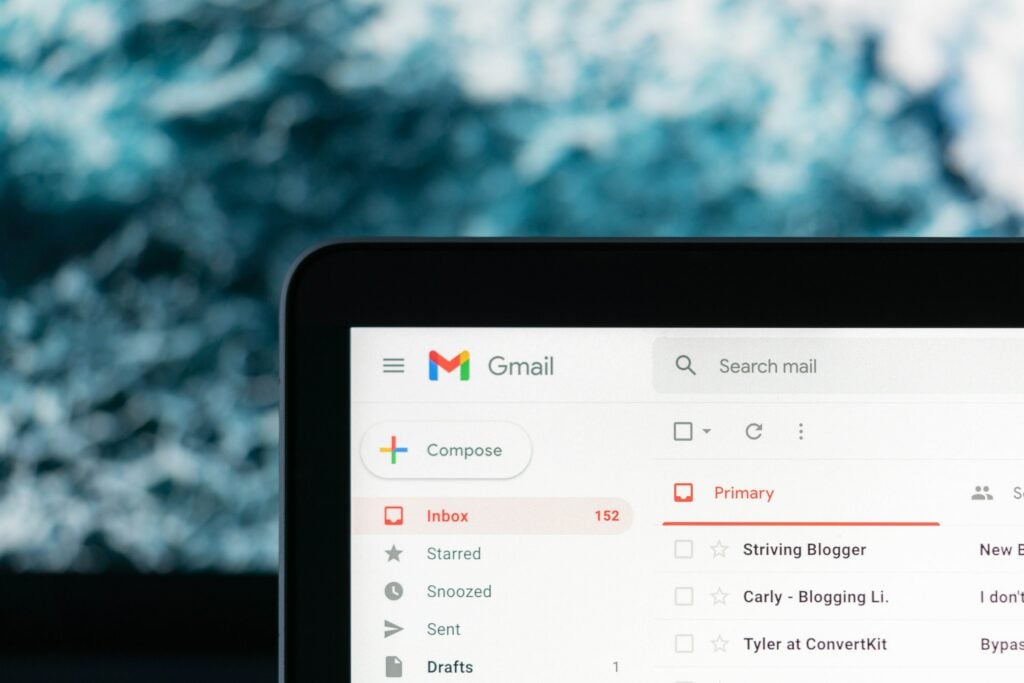
Picture this: You’re sipping your morning coffee, ready to start your day, and you open your Gmail inbox. Suddenly, you’re bombarded with a tsunami of unwanted emails. Spam, promotions, and one person who just won’t leave you alone. It’s time to regain control of your inbox; we’re here to help. In this comprehensive guide, we’ll show you how to block emails on Gmail so you can finally enjoy a clutter-free email experience.

The Art of Blocking: Why It’s Essential
Before we dive into the nitty-gritty of blocking emails on Gmail, let’s take a moment to appreciate the importance of this seemingly simple action. Blocking emails is not just about decluttering your inbox; it’s about protecting your sanity and your precious time. As the wise Benjamin Franklin once said, “Lost time is never found again.” So, let’s not waste any more time on unwanted emails, shall we?
Blocking emails can also help protect you from phishing scams, malware, and other cyber threats. In the internet age, staying vigilant and safeguarding your personal information is crucial. You’re taking a proactive step towards a safer online experience by blocking suspicious emails.
How to Block Emails on Gmail: A Step-by-Step Guide
Now that we’ve established the importance of blocking emails, let’s get down to business. Here’s a step-by-step guide on how to block emails on Gmail:
- Open Gmail: First things first, open your Gmail account on your computer or mobile device.
- Find the email: Locate the email from the sender you want to block. If you’re drowning in a sea of emails, use the search bar to find the culprit.
- Block the sender: On your computer, open the email and click the three vertical dots (more options) in the upper right corner. Select “Block [Sender’s Name].” On your mobile device, tap the three horizontal dots (more options) and select “Block [Sender’s Name].”
- Confirm the block: A pop-up window will appear, asking you to confirm your decision. Click “Block” or “OK” to seal the deal.
- Celebrate: Congratulations! You’ve successfully blocked an email sender on Gmail. Now, go ahead and do a little victory dance. You’ve earned it.
The Unblocking Dilemma: How to Unblock Emails on Gmail
Sometimes, we make mistakes. Maybe you accidentally blocked your boss or an old friend. Don’t worry; we’ve got you covered. Here’s how to unblock emails on Gmail:
- Open Gmail: You know the drill. Open your Gmail account on your computer or mobile device.
- Go to settings: On your computer, click the gear icon in the upper right corner and select “See all settings.” Tap the three horizontal lines (menu) on your mobile device and select “Settings.”
- Find the blocked sender: On your computer, click the “Filters and Blocked Addresses” tab. On your mobile device, tap the account you want to manage and select “Blocked addresses.”
- Unblock the sender: Find the blocked sender on your computer and click “Unblock.” On your mobile device, tap the blocked sender and select “Unblock [Sender’s Name].”
- Confirm the unblock: A pop-up window will appear, asking you to confirm your decision. Click “Unblock” or “OK” to make amends.
- Breathe a sigh of relief: Crisis averted. You’ve successfully unblocked an email sender on Gmail.
The Power of Filters: A Gmail Superpower
Blocking emails is great, but did you know that Gmail has a secret weapon to help you manage your inbox like a pro?
Behold the power of filters! Filters allow you to automatically sort, label, and organize your emails based on specific criteria. Here’s how to create a filter on Gmail:
- Open Gmail: You know the drill.
- Find the email: Locate the email you want to create a filter for.
- Create the filter: On your computer, open the email and click the three vertical dots (more options) in the upper right corner. Select “Filter messages like this.” On your mobile device, this feature is currently unavailable. Sorry, mobile users!
- Set the filter criteria: A window will appear, allowing you to set the filter criteria. You can filter emails based on the sender, recipient, subject, keywords, and more. Get creative!
- Choose the filter action: Once you’ve set the filter criteria, click “Create filter” and choose the action you want Gmail to take when it detects a matching email. You can automatically archive, delete, label, or forward the email, among other options.
- Save the filter: Click “Create filter” to save your masterpiece.
Now, sit back and watch as Gmail magically organizes your inbox. You’re welcome.
Frequently Asked Questions:
Can I block emails from a specific domain?
Yes, you can create a filter to block emails from a specific domain. Follow the steps in the “Power of Filters” section above, and set the filter criteria to include the domain you want to block.
Can I block emails on the Gmail mobile app?
Yes, you can block emails on the Gmail mobile app. Follow the steps in the “Great Gmail Block” section above, and use the mobile-specific instructions.
What happens when I block someone on Gmail?
When you block someone on Gmail, their emails will be automatically sent to your spam folder. You won’t receive any notifications for these emails, and they won’t clutter your inbox.
The Bottom Line:
In conclusion, learning how to block emails on Gmail is essential for maintaining a clean and organized inbox. By following this guide, you’ll be well on your way to a stress-free email experience. So, conquer your inbox, one block at a time!


