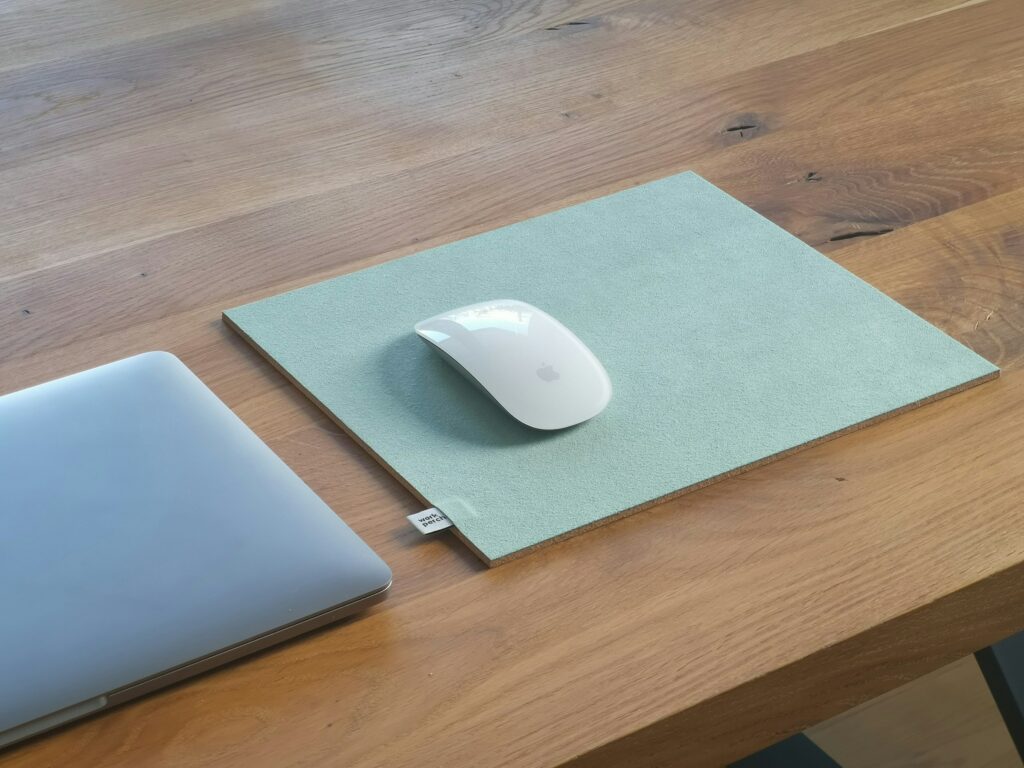
In the realm of computing, where precision and hygiene converge, the humble mouse pad assumes a crucial role. Whether it’s facilitating the lightning-fast movements of a gamer’s mouse or the measured clicks of an office worker, its presence, though often overlooked, is indispensable. The journey of a mouse pad is not without its challenges, with dirt, grime, and the occasional coffee spill being inevitable. But fret not; the process of cleaning a mouse pad is straightforward and rewarding, ensuring that your trusty companion remains visually appealing and functionally pristine. So, let’s delve into how to clean a mouse pad, a task that is as essential as the mouse pad itself in your daily computing life.
The Why and How of Mouse Pad Cleaning
A clean mouse pad is not just a matter of appearance but a linchpin in your mouse’s seamless operation, influencing everything from cursor precision to overall hygiene. Dirt and grime can hinder your mouse’s tracking abilities, leading to erratic cursor movements and less responsive performance. It is particularly significant for gamers, where the difference between victory and defeat can hinge on the fidelity of their gear. So, by keeping your mouse pad clean, you’re maintaining its condition and enhancing your performance.
How to Clean a Mouse Pad:
Fabric Mouse Pads:
- Preparation: Gather your materials—warm water, mild liquid dish soap (such as those used for handwashing dishes), a soft brush or sponge, and a towel for drying. Rubber gloves are optional but recommended to protect your hands from prolonged exposure to water and soap.
- Soaking: Fill a sink or basin with warm (not hot) water. The warmth of the water helps to loosen dirt and oils without harming the mouse pad’s fabric.
- Applying Soap: Add a small amount of mild liquid dish soap to the water. You’re aiming for a gentle cleaning solution that can break down oils and grime without leaving a residue that could affect the mouse pad’s texture or responsiveness.
- Scrubbing: Using a soft brush or sponge, gently scrub the surface of the mouse pad. The goal is to agitate the dirt and oils trapped in the fabric without damaging the fibres or the printed surface, which many gamers and professionals value for aesthetics.
- Rinsing: Thoroughly rinse the mouse pad in clean water to remove any soap suds and loosened dirt. No soap residue should remain, as it can attract more dirt over time or interfere with the mouse’s tracking on the pad.
- Drying: Pat the mouse pad with a towel to remove excess water, then lay it flat to air dry. Avoid direct sunlight or heat sources, which can warp or fade the fabric. Ensuring the mouse pad is completely dry before using it again is crucial to prevent mould, mildew, or damage to your desk or mouse.
Key Considerations
- Avoid Harsh Chemicals: Harsh cleaners can degrade the mouse pad’s material, affecting its feel and the precision of mouse tracking. Stick to mild soap to ensure the pad’s longevity.
- Gentle Tools: A soft brush or sponge is vital for avoiding damage to the pad’s surface, especially for pads with printed designs or logos.
- Complete Drying: Proper drying is perhaps as important as the cleaning itself. A damp mouse pad can harm your desk, create a breeding ground for bacteria, and interfere with its primary function.
Hard and Plastic Mouse Pads:
Hard and plastic mouse pads, favoured for their durability and sleek surface, require a specialized approach to maintenance and cleaning. Unlike their fabric counterparts, these pads don’t absorb liquids or trap dirt in the same manner, but they can accumulate fingerprints, grease, and dust that affect both their appearance and performance.
The cleaning process for hard and plastic mouse pads emphasizes the removal of surface debris and disinfection without damaging the pad’s integrity.
The first step in cleaning a hard or plastic mouse pad involves gathering the right tools:
- Microfiber Cloths: Known for their softness and effectiveness in trapping dirt, microfiber cloths are ideal for cleaning sensitive surfaces without leaving scratches.
- Soft-bristled Brushes: These brushes can gently dislodge particles stuck in crevices or textured mouse pad surfaces.
- Screen Cleaning Sprays: Formulated to clean electronic displays safely, these sprays can also be used on hard mouse pads to break down grease and fingerprints without harsh chemicals.
Step-by-Step Cleaning Process
- Remove Loose Debris: Begin by wiping the mouse pad with a dry microfiber cloth or using a soft-bristled brush to sweep away crumbs, dust, and other loose particles.
- Apply Cleaner: Lightly spray the screen cleaner onto a microfiber cloth. Direct application onto the mouse pad is not recommended as it can lead to oversaturation of the pad’s surface.
- Gentle Scrubbing: Use the dampened cloth to wipe the mouse pad’s surface gently. For textured or heavily soiled areas, a soft-bristled brush can help dislodge stubborn grime.
- Disinfect (Optional): A disinfectant wipe can go over the surface for additional cleanliness, especially during flu season or after illness. Ensure the wipe is not overly wet to prevent moisture from seeping into non-waterproof components.
- Dry Thoroughly: After cleaning, it’s crucial to dry the mouse pad completely before use. A clean, dry microfiber cloth can speed up this process, absorbing residual moisture.
- Air Dry: Let the mouse pad sit out for a few hours, ensuring it’s completely dry. This step prevents any damage or interference with mouse functionality due to moisture.
Maintenance Tips
- Regular Dusting: Regularly dusting your mouse pad with a microfiber cloth can prevent the buildup of particles and extend the time between deep cleanings.
- Immediate Spill Response: In spills, promptly blotting the liquid and cleaning the area can prevent sticky residues and stains.
- Avoid Harsh Chemicals: Avoid using harsh cleaners or abrasive tools that could scratch or degrade the surface of the mouse pad.
The Versatility of Washing Methods for Cleaning a Mouse Pad
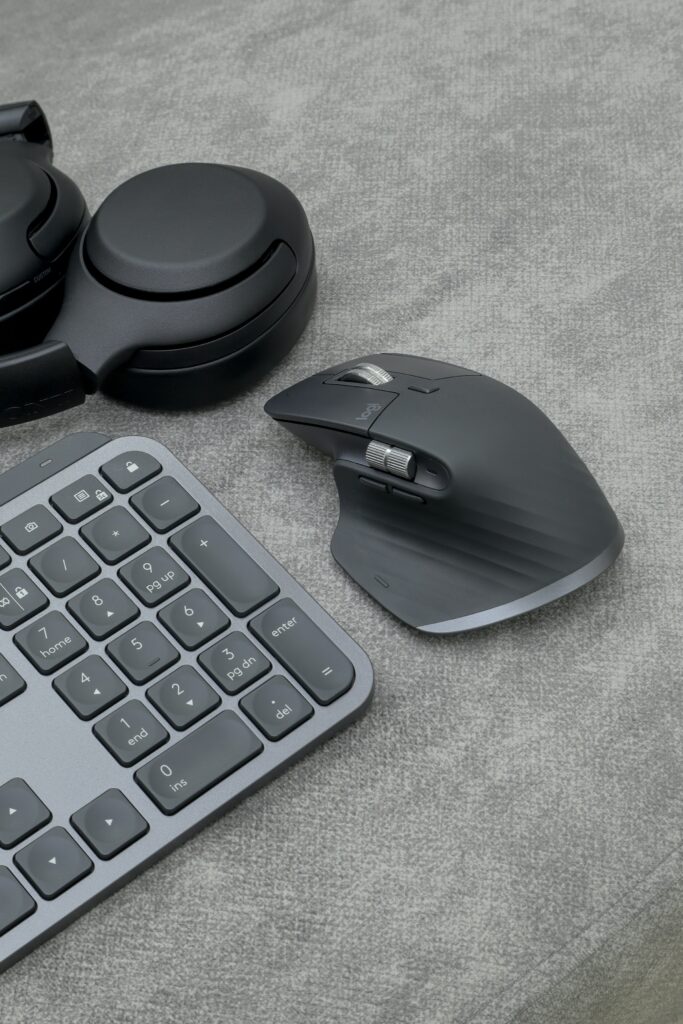
The versatility of mouse pad cleaning methods caters to varying needs and preferences. Combining warm water with mild dish soap, the sink method offers a straightforward solution for most stains, requiring soaking and gentle scrubbing. The washing machine method emerges as an efficient alternative for more persistent issues or after spills.
Opting for cold water and a gentle cycle minimizes the risk to the mouse pad. This method effectively removes tougher stains without the adverse effects associated with hot water or intense washing cycles. These methods underscore the adaptability of maintaining the cleanliness and longevity of mouse pads.
The Bottom Line:
Through diligent care and proper cleaning techniques, your mouse pad can continue to serve as a faithful companion in your computing endeavours, ensuring hygiene and performance are maintained at their peak. Remember, the cleanliness of your mouse pad reflects not only on its appearance but also on its functionality, providing a smooth, responsive surface for your daily tasks or gaming battles.
Frequently Asked Questions:
Can I clean my mouse pad in the washing machine?
How often should I clean my mouse pad?
It depends on usage and environment, but a general guideline is every 1-2 months to maintain optimal performance and hygiene.
Can I use bleach or strong detergents on my mouse pad?
It’s best to avoid these as they can damage the material and affect the pad’s surface quality.

