Keeping your keyboard clean is important to maintaining a hygienic and efficient workstation. A dirty keyboard can harbour bacteria, cause keys to stick, and even lead to computer malfunctions. Fortunately, cleaning your keyboard is easy to do with some basic supplies and doesn’t take much time.

How to Clean Your Keyboard
Supplies You’ll Need
- Cotton swabs or a soft-bristled toothbrush: For cleaning between the keys
- Microfiber cloth: For wiping down the keyboard surface
- Compressed air: For blowing away debris between the keys
- Isopropyl alcohol: For disinfecting and removing stuck-on gunk
- Distilled water: For dampening the microfiber cloth as needed
Step 1: Unplug the Keyboard
Before cleaning, unplug the keyboard from your computer. It prevents anything from short-circuiting during the cleaning process. Turn it off or remove the batteries if it’s a wireless keyboard.
Step 2: Flip It Over and Shake It Out
Turn the keyboard upside down over a trash can and gently shake it to dislodge any loose crumbs or debris. You’d be surprised what comes falling out! It gets rid of the easy stuff first.
Step 3: Use Compressed Air
Use short bursts of compressed air to blow away dust and debris lodged between the keys. Tilt the keyboard at an angle and spray beneath the keys to remove the built-up gunk. Avoid holding the can upright and spraying it directly down into the keyboard to prevent liquid discharge.
Step 4: Clean Between the Keys
Wrap a cotton swab or dampen a toothbrush with isopropyl alcohol or distilled water. Gently clean along the sides and between each key, scrubbing away dirt and oils. Be careful not to get any moisture into the inner electronics.
Step 5: Wipe Down the Surface
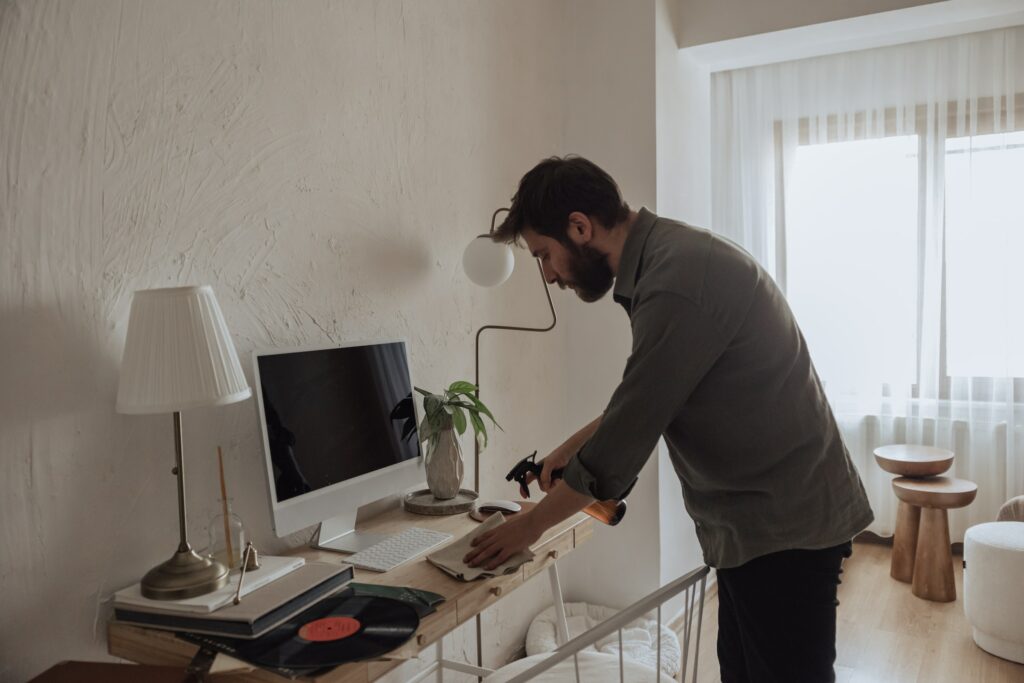
Dampen a microfiber cloth with distilled water and wipe down the keyboard’s exterior to remove built-up grime and oils. Use isopropyl alcohol for tough stains. Wring out the cloth well so it’s only slightly damp.
Step 6: Clean the Underside
Flip the keyboard back over and wipe down the bottom with your microfiber cloth. Give the underside of the keys a good scrubbing to remove any gunk that has transferred from your desk.
Step 7: Use a Disinfecting Wipe
Use a disinfecting wipe containing at least 70% isopropyl alcohol to give the entire keyboard surface a once-over. It will kill any lingering bacteria. Allow to air dry.
Step 8: Clean Accessories Too
While you’re at it, clean your mouse, mousepad, phone screen and other desk accessories. Germs accumulate on frequently handled items.
Step 9: Let It Dry
Before plugging back in, let your keyboard dry so no moisture gets on the circuits. Place it upside down overnight if needed.
How Often Should You Clean Your Keyboard?
To prevent the buildup of dirt and germs:
- Aim to clean your keyboard every 2-4 weeks.
- Clean it more frequently if you eat or drink at your desk.
- Give it a cleaning if keys become visibly dirty or sticky.
Keyboard Cleaning Tips
- For mechanical keyboards, keycaps can be removed for more thorough cleaning.
- Use a small vacuum attachment to get in keyboard crevices.
- Replace your keyboard if cleaning doesn’t restore sticky or unresponsive keys.
- Store snacks and beverages away from your workstation to prevent spills and crumbs.
- Consider using keyboard covers or washable silicone skins for added protection.
Why a Clean Keyboard Matters
- Improves typing efficiency – Keys won’t stick when debris builds up
- Prevents spread of germs – Especially important in office settings
- Extends the life of equipment – Dirt can damage the internal components
- Looks more professional – Nobody likes a grimy, crumb-filled keyboard
- Increases focus – A clean workspace helps you stay on task
So take a few minutes to get those keys sparkling clean. Your keyboard and your hands will thank you! Maintaining cleanliness is a simple way to improve productivity and well-being.
Frequently Asked Questions:
What is the safest way to clean a keyboard?
Use a can of compressed air to dislodge debris between keys, cleaning swabs dampened with isopropyl alcohol to scrub the nooks, and a microfiber cloth dampened with distilled water to wipe down the surface. Avoid excess liquids.
Can I use rubbing alcohol to clean my keyboard?
Yes, isopropyl alcohol between 70% and 99% concentration is safe for disinfecting keyboards. Dampen your clothes minimally and avoid liquids dripping into the interior.
How do you clean laptop keyboards?
Use a can of compressed air and cleaning swabs dampened with isopropyl alcohol. Wipe the surface gently with a slightly damp microfiber cloth. Avoid excess moisture near ports.
The Bottom Line:
Keeping your keyboard clean takes just a few minutes but makes a big difference in the look and function of your workspace. Follow these keyboard cleaning tips and enjoy more efficient and comfortable typing!


