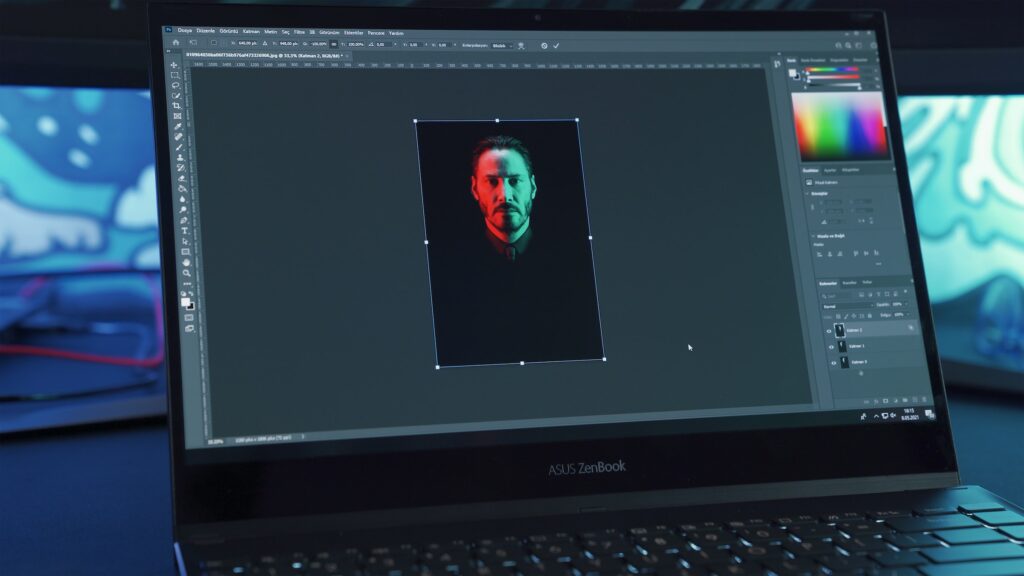
Let’s face it, we’ve all been there: you’ve got the perfect photo, but the background is just…meh. Fear not, my fellow Photoshop warriors, for I bring you the ultimate guide on how to remove background in Photoshop. Say goodbye to those pesky distractions and hello to a world of clean, crisp images that’ll make your friends green with envy. So, buckle up and let’s dive into the magical world of Photoshop background removal!

How to Remove Background in Photoshop:
The Almighty Background Eraser Tool
The Background Eraser Tool is like the Swiss Army knife of Photoshop tools. It’s versatile, easy to use, and can make quick work of even the most stubborn backgrounds. Here’s how to wield this mighty tool:
- Open your image in Photoshop.
- Find the Background Eraser tool under the Eraser submenu in the Photoshop toolbox. Click and hold it or press “E” to erase the unwanted background.
Voilà! You’ve just removed the background like a pro. But wait, there’s more!
The Magical Quick Selection Tool
The Quick Selection Tool is like having a tiny, pixel-sized wizard at your disposal. It can quickly and accurately select the parts of an image you want to keep, making background removal a breeze. Here’s how to harness its power:
- Upload your photo and unlock the layer in the Layers panel.
- Use the Quick Selection Tool to select the background you want to remove.
- Adjust the selected area as needed, and then press delete to remove the background.
Now, you’ve got a clean, transparent background ready for your next masterpiece.
The Power of Channels
Sometimes, you need to bring out the big guns. That’s where channels come in. This technique is perfect for those tricky backgrounds that just won’t go away. Here’s how to conquer them:
- Create a new layer and fill the selection with black.
- Use the Channels panel to remove the background.
And just like that, you’ve got a professional-looking image with a clean background.
The Art of Saving and Exporting
Now that you’ve mastered the art of background removal, it’s time to save and export your work. Make sure to save your image in PSD format to preserve all your hard work. When you’re ready to share your masterpiece with the world, export it in PNG format for a transparent background.
Common Mistakes to Avoid when Removing a Background in Photoshop:
When removing a background in Photoshop, there are some common mistakes that you should avoid to achieve the best results. Here’s a list of pitfalls to watch out for:
- Not unlocking the layer: Before you start removing the background, make sure to unlock the layer by clicking on the lock icon in the Layers panel. It will allow you to edit the image freely.
- Using the wrong tool: Photoshop offers various tools for background removal, such as the Background Eraser Tool, Quick Selection Tool, and Channels technique. Choose the most appropriate tool for your image to achieve the best results.
- Rushing the process: Removing a background can be delicate, especially when dealing with complex images. Be patient when making selections and adjustments to avoid errors and achieve a clean, professional result.
- Not refining the edges: After removing the background, it’s essential to refine the edges of your subject to ensure a smooth and natural-looking result. Use tools like the Refine Edge Brush or the Select and Mask workspace to fine-tune your selection.
- Ignoring shadows and reflections: If your image has shadows or reflections, consider them when removing the background. You may need to recreate these elements on a separate layer to maintain a realistic appearance.
- Not saving your work properly: After removing the background, save your work in PSD format to preserve all the layers and adjustments. When exporting your image for use in other applications or sharing online, use the PNG format to maintain a transparent background.
By avoiding these common mistakes, you can ensure a more successful and professional-looking background removal in Photoshop.
Frequently Asked Questions:
Why should I remove the background in Photoshop?
Removing the background can make your images look more professional and aesthetically pleasing. It’s an essential skill for designers and photographers alike.
Can I use these techniques to remove objects from a photo?
Absolutely! These techniques can be used to remove any unwanted elements from your images.
Are there any free alternatives to Photoshop for background removal?
Yes, there are several free alternatives with features like AI background remover that can help you achieve similar results. However, Photoshop remains the gold standard for professional-quality background removal.
In Conclusion
So, there you have it, folks! The ultimate guide on how to remove background in Photoshop. With these techniques in your arsenal, you’ll be unstoppable in your quest for clean, crisp images. Now, go forth and conquer the world of background removal, one pixel at a time!


