

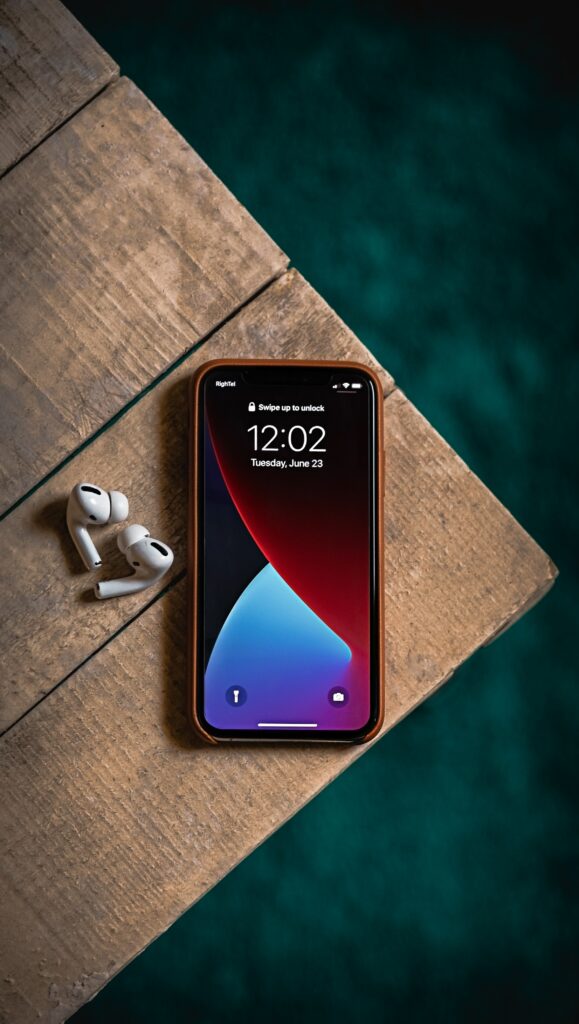
So, you’ve finally decided to upgrade your iPhone, and now you’re faced with the daunting task of transferring all your precious data from your old device to the new one. Fear not, my friend!
In this comprehensive guide, we’ll explore the ins and outs of how to transfer data from iPhone to iPhone, ensuring a smooth and hassle-free experience. Let’s dive in!

How to Transfer Data from iPhone to iPhone: Quick Start, iCloud, or iTunes/Finder.
Before we begin, make sure you have a backup of your old device, your Apple ID and password handy, and your SIM card transferred to your new iPhone. Now, let’s explore the three main methods for transferring data from iPhone to iPhone:
iCloud: Transfer your data and purchased content to your new device from your previous iCloud backup. It’s like having your own personal cloud to store all your memories and important information.
iTunes or Finder: Transfer your data and purchased content to your new device from a backup you made using iTunes or Finder. It’s like having a digital filing cabinet for all your important documents and files.
Quick Start: The Fastest Way to Transfer Data from iPhone to iPhone
Quick Start is the easiest and fastest way to transfer data from your old iPhone to your new one. Here’s how to do it:
- Turn on your new iPhone and place it near your old device.
- The Quick Start screen will appear on your old iPhone, prompting you to set up your new device.
- Follow the on-screen instructions to set up Face ID or Touch ID, activate cellular service, and choose how you want to transfer your data.
Keep your devices near each other and plugged into power until the data migration process is complete. Transfer times can vary based on network conditions and the amount of data being transferred.
iCloud: Your Personal Cloud for Transferring Data
If you prefer using iCloud to transfer data from iPhone to iPhone, follow these steps:
- Go to Settings > [Your Name] > iCloud on your old iPhone, and toggle on the content types you want to sync.
- On your new iPhone, sign in with your Apple ID and choose to restore from an iCloud backup.
iTunes or Finder: The Digital Filing Cabinet for Your Data
For those who prefer using iTunes or Finder to transfer data, follow these steps:
- Connect your old iPhone to your computer and create a backup using iTunes or Finder.
- Connect your new iPhone to your computer and choose to restore from the backup you just created.
Frequently Asked Questions:
Can I transfer data from iPhone to iPhone after setup?
Yes, you can. On your new iPhone, go to Settings > General > Reset > Erase All Content and Settings, then follow the steps mentioned above for your preferred transfer method.
How long does it take to transfer data from iPhone to iPhone?
Transfer times can vary based on factors such as network conditions and the amount of data being transferred. Patience is a virtue, my friend!
Can I use Quick Start to transfer data if my new device is enrolled in Apple School Manager or Apple Business Manager?
Unfortunately, you can’t use Quick Start to transfer data from your current device if your new device is enrolled in Apple School Manager or Apple Business Manager.
The Bottom Line:
In conclusion, transferring data from iPhone to iPhone doesn’t have to be a headache. With this guide, you’ll be well on your way to enjoying your new iPhone with all your precious data intact. So, what are you waiting for? Let’s get transferring!

